
Back to homepage
Little cabin in the (hard)woods ...
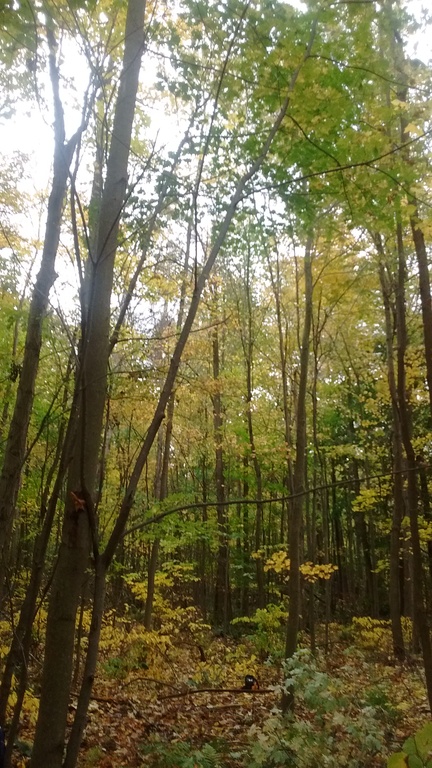
Several years ago a bought a nice piece of land in Southern Ontario, 37 acres of hardwood forest.
I wanted partial mental and physical break from city life, and I did want to learn some useful
nature skills.
Forests, forests, most beautiful thanks to you ...
I got so much more. City life really destroys us in so many ways.
Our strength, resilience, patience, closeneness to nature and one another is eroding every day.
Nature heals and builds up.

It is always useful to know more, and be prepared ...
History repeats. Always.
Stay strong and build yourself up by connecting with nature.
If you are at peace with yourself, nothing can permanently hurt you.
Stoicism.
Build
I quickly decided to build a cabin, to be able to enjoy the land fully, and to try something new
and fulfilling.
Maximum cabin/shed size (not requiring permit) is 10 m square or about 108 square feet in Ontario.
This placed a constraint on size, but since I mostly planned to work alone, it wasn't a big issue,
but rather a blessing.
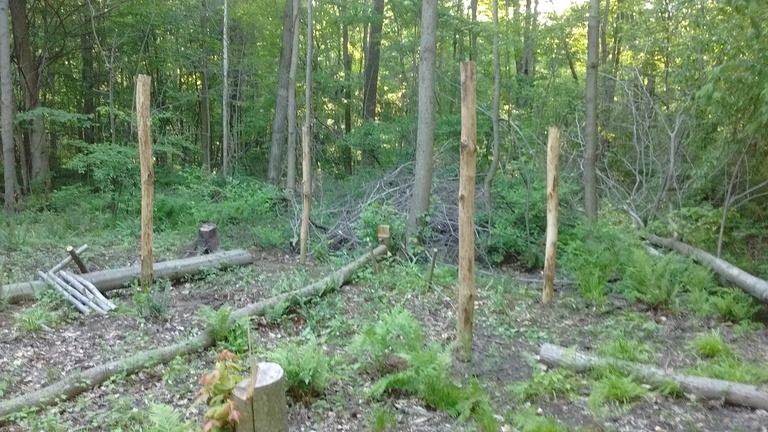
First step was to clear a selected area of trees.
I decided to clear out a circle with 20 m diameter, which in hindsight is probably too large.
You can get by with much smaller area, if you don't need to use the trees as building material.
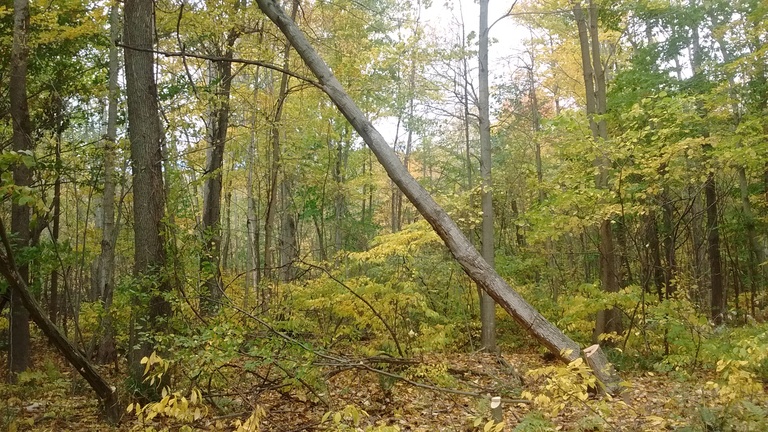
Forest clearing in progress 1. Tree stuck. Common problem.
I learned how to use a chainsaw, first a gas powered one, and then electric.
Gas chainsaws proved to be quite temperamental, with issues with starting and restarting, and just
being plain heavy to work with.

Once I bought a generator, electric chainsaws were the way to go.
Very reliable, light, and ideal if you only have to work in one small area.
I also felled few smaller trees by hand, before I bought the generator.
Swedish bow saw was ideal for manual tree felling.
Forest clearing in progress 2.
Tree felling is quite a dangerous bussiness.
I recommend reading about proper way to start and finish the cuts.
Use a plastic wedge to ascertain the direction of treefall once you are done with cuts.
Step away from the tree once it starts to fall.
Some guy I know that keeps following me.

I had the unpleasant experience of tree trunk bouncing off sideways when it fell on another tree
already down. I had to jump away quickly.
Another problem was trees falling partly down and getting entangled with other trees.
For small trees, I could just pull the trunks away until trees finally fell down.
For medium sized ones, I would use large branches as levers to move the trunks away, step by step.
For large ones, I had to carefully cut them with chainsaw, in sections of several meters.
In another amusing incident, large tree that I was cutting turned out to be rotten inside.
A large chunk of bark and wood just disintegrated and blew out, luckily on the opposite side
from where I was. Tree then fell down, even though I didn't cut more than half of tree trunk.
Pinching incidents (where chain or blade would get cought up in a tree) were innumerable.
It's helpfull to cut on the side that is not closing (pinching), but sometimes it's difficult
to determine which side is it. Have extra saw(s), wedges and other tools at hand to help you
extract the tool that is pinched in a tree.
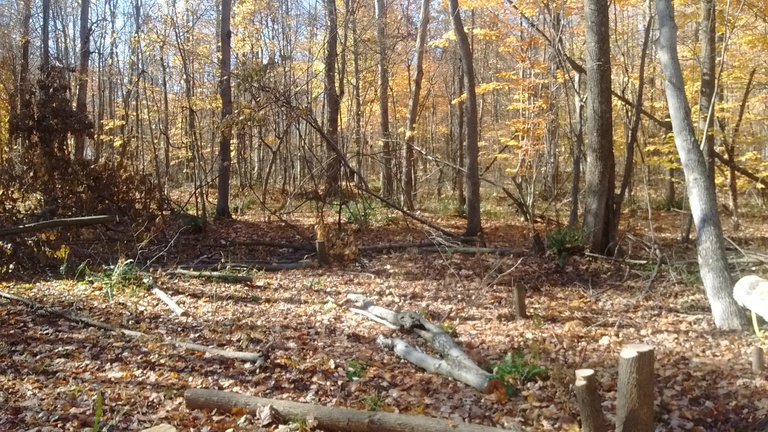
Once I cut all the trees in 20 m diameter circle, I began to think what to do with them.
I could just use them for firewood, but that appeared somewhat wasteful.
There was plenty of dead wood anyway on 37 acres.
Since I also didn't have car access to the site, and dragging a lot of building materials through
500 m of forest did not appeal to me, I decided to build a log cabin.
Forest clearing in progress 3.
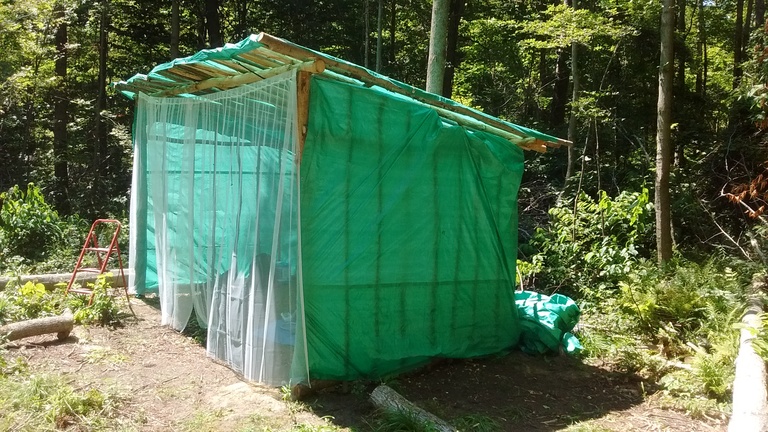
But first I decided to build a shed of sorts, to protect my tools from rain.
Shed has post-in-hole construction.
I used post-in-hole construction, and initially covered it with poor-quality tarp,
attached with bungee cords and steel wire.
Shed structure mostly finished.

Wind ripped it up in few weeks, and rain started pouring in.
Then I put tar paper on, which did not work well on uneven branches
that were used for shed roof structure.
Finally I attached rolls of discarded vinyl (linoleum) flooring on top of the roof.
That worked very well.
Shed structure covered with tarp.
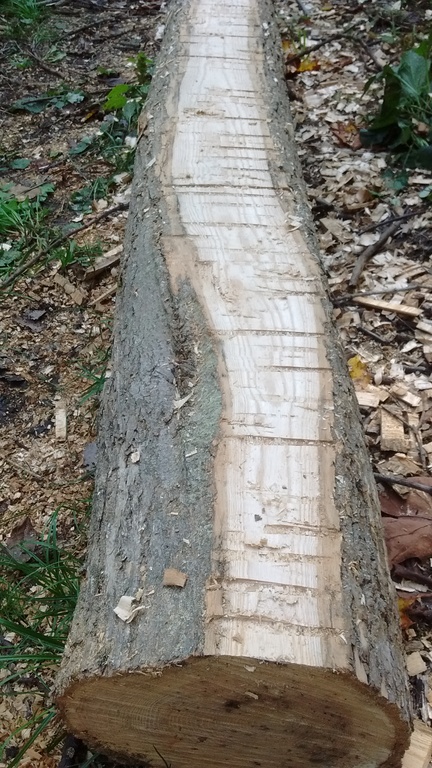
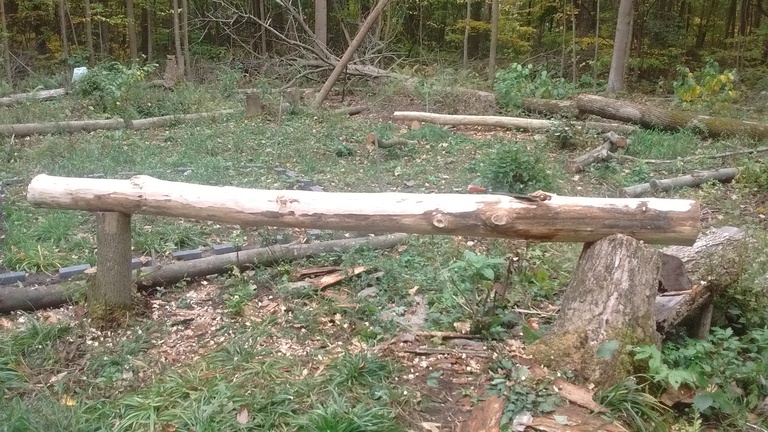
One way to flatten the cabin logs (I used 2 flattened logs for cabin foundation) is to make
number of side cuts with a chainsaw, and then clear them out with an axe.
Picture below should explain that.
How to flatten a log.
Recommendations in the books I had were to use trees from about 10 to 14 inches in diameter
(25 to 35 cm).
This is probably good for several people working with softwood logs.
I had to work mostly alone, and with heavier hardwood logs.
For that reason I came to conclusion, after quite a bit of effort, that it is advisable to use
much smaller diameter trees, 6 to 9 inches in diameter (15 to 22 cm), if you work alone.
The bigger ones will wear you down, especially if you have to transport them yourself without help.
Drawknife was used to remove bark.
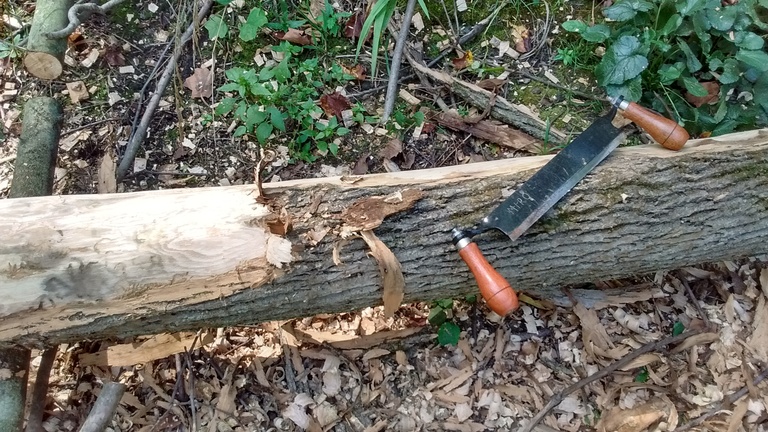
I bought a drawknife to remove the bark to prevent log rot. It worked quite well but is hard work.
Another method was discovered by happenstance: hammer blows break off good chunks of bark if
temperature is below freezing.

Log debarking produces a lot of human heat and is exhausting.

If you have to make a cabin quickly, try to debark only top and bottom of each log
(where in contact with other logs), and remove the rest once the cabin is finished and you
have some roof over your head.

If desperate or not concerned with rot (short-term cabin use, 1-2 years), omit debarking.
It will save you 50% of the time and 50% of effort, if not more.
Two stumps can support log during debarking.
For cabin foundation I just used some flat concrete pavers, to elevate bottom logs from the ground a bit.
Also, bottom logs were covered with special chemical to slow down decay.
Cabin logs start to fit together.
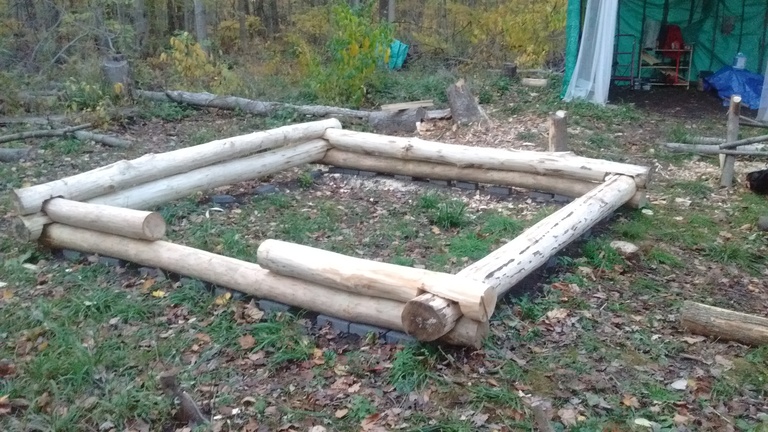
After that it was just a matter of notching the logs and joining them at the corners...
It's a very good idea to also join them with long nails/spikes at the corners.
Being hardwood, nails were very difficult to drive in, so we had to predrill nail/spike holes.
Cabin is getting taller.
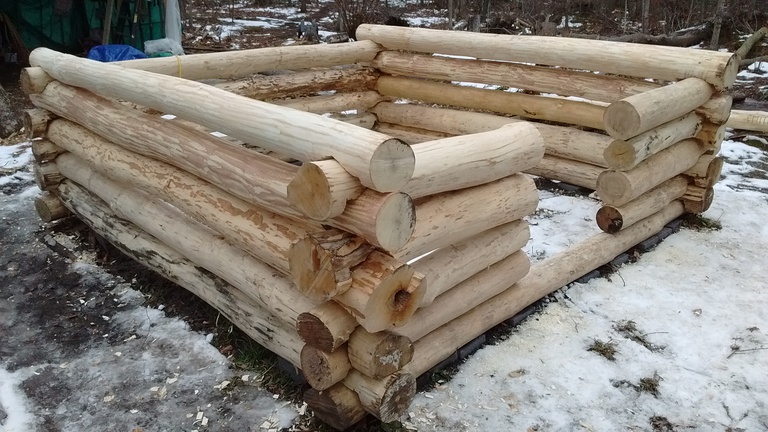
Random guy that keeps following me, imagining that it's summer already.

Once height became too high for lifting logs, I used inclined strong branches to roll the logs up
(credit to my mom for this idea). To inclined branches I had added large nails to create
stopping point to enable rest, and prevent accidental log rollbacks.
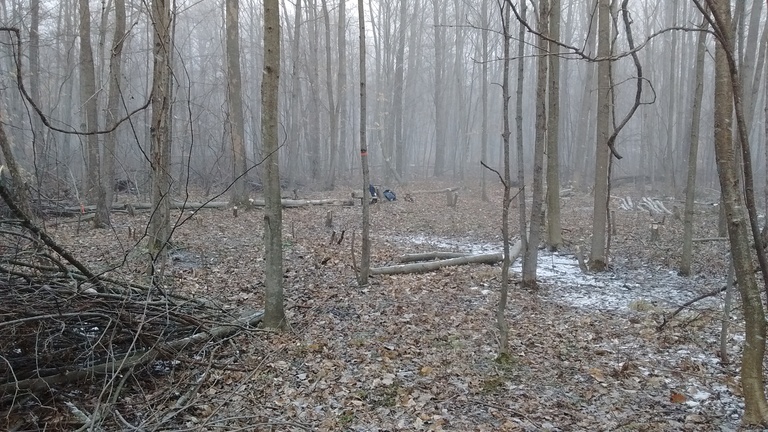
2018 images are missing, will be uploaded soon ...
Cabin has electricity! From a generator.
Floors are just tamped earth. Works fine in the summer, but cold and damp during colder months.
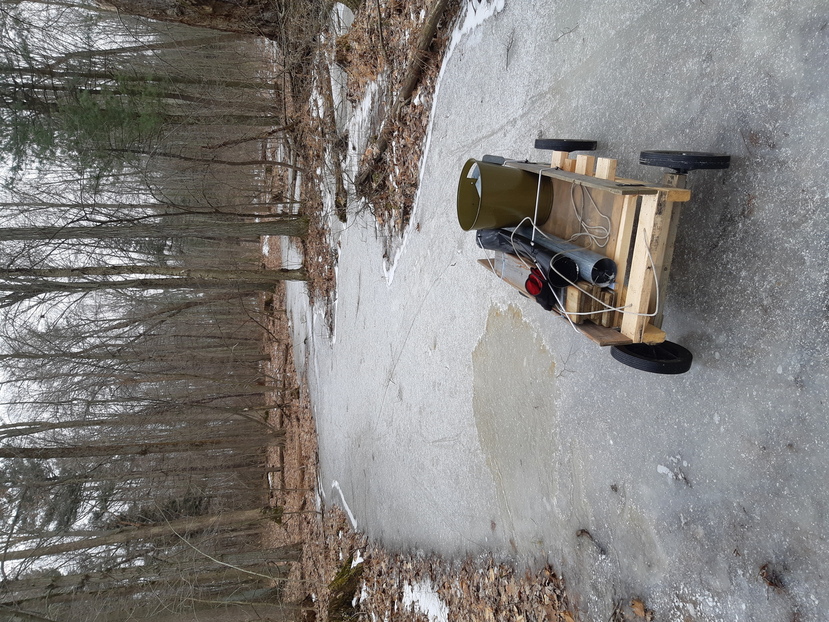
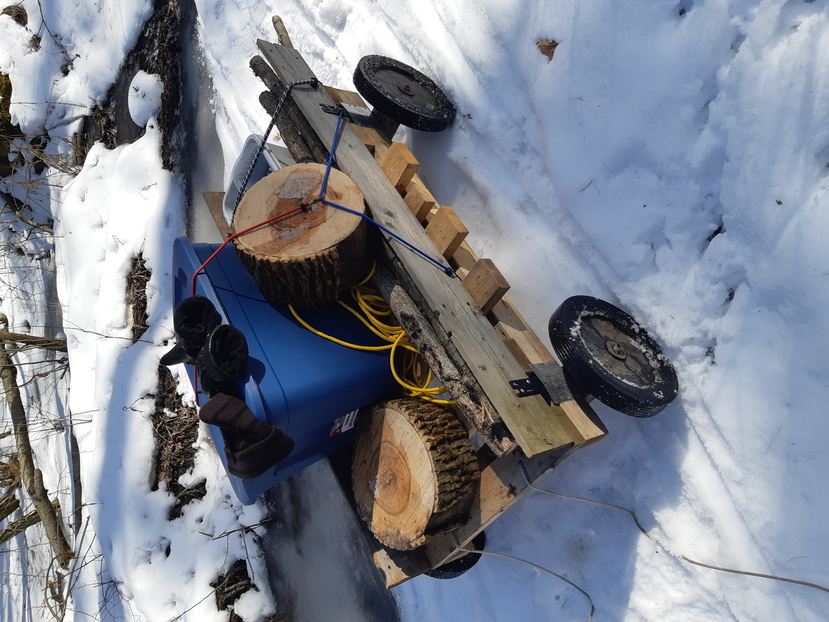
Supplies were brought in by human-drawn cart, using ice road in the winter.
Cart on an ice road.
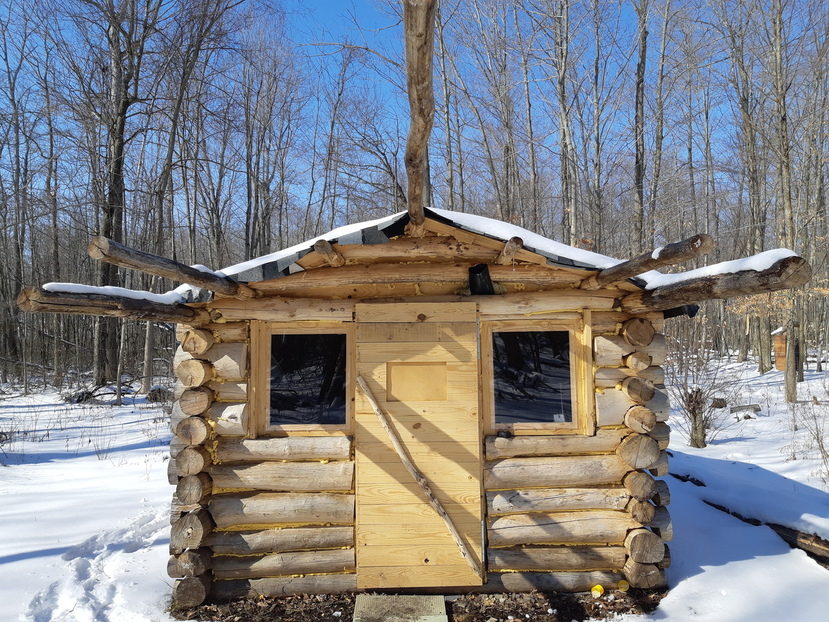
Finished cabin, front view.
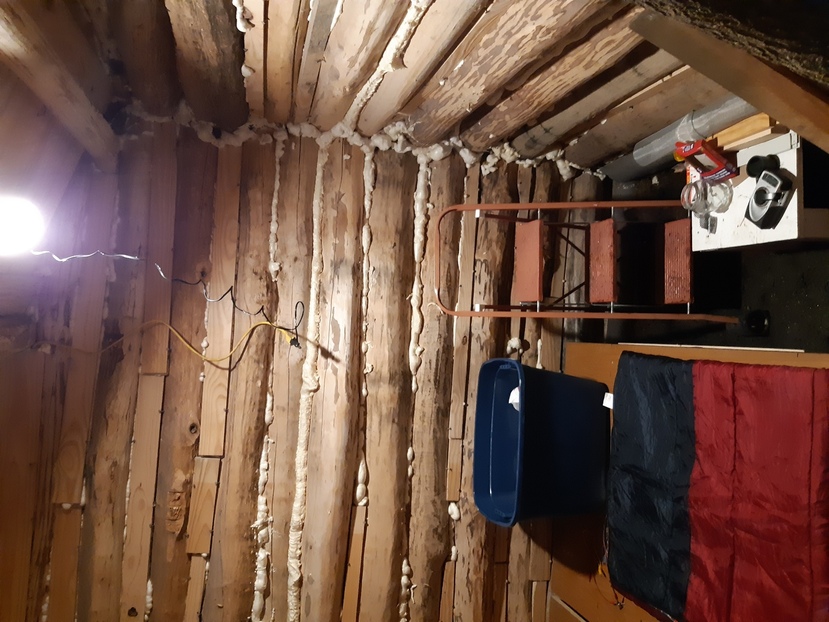
Space between logs was mostly filled with insulating polyurethane foam.
Finished cabin, front view, winter.
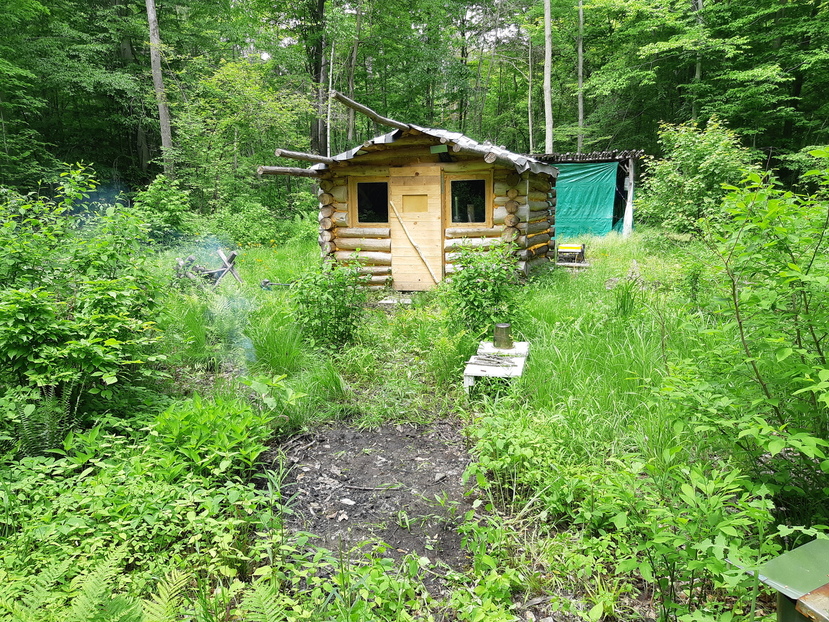
Finished cabin, front view, summer.
Road to Valhalla.
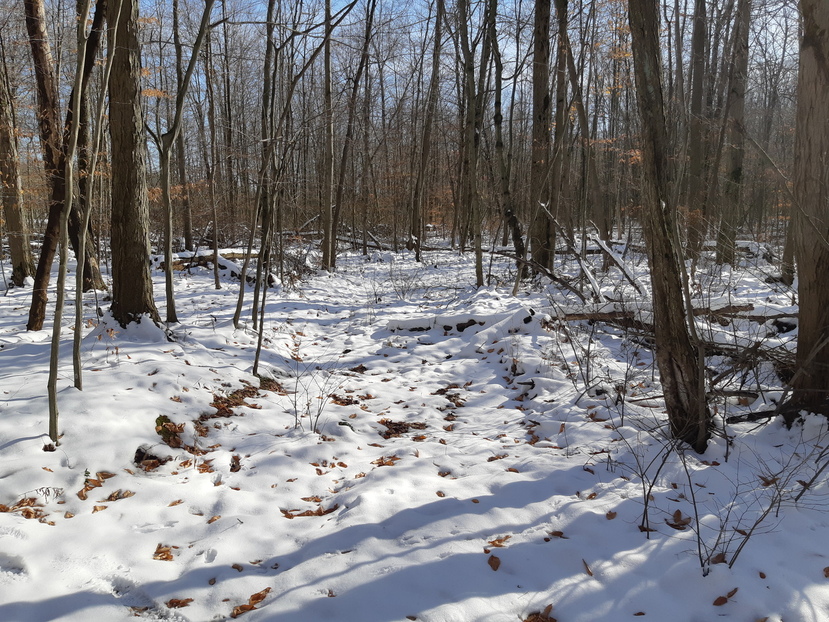
Path to cabin, wintertime.
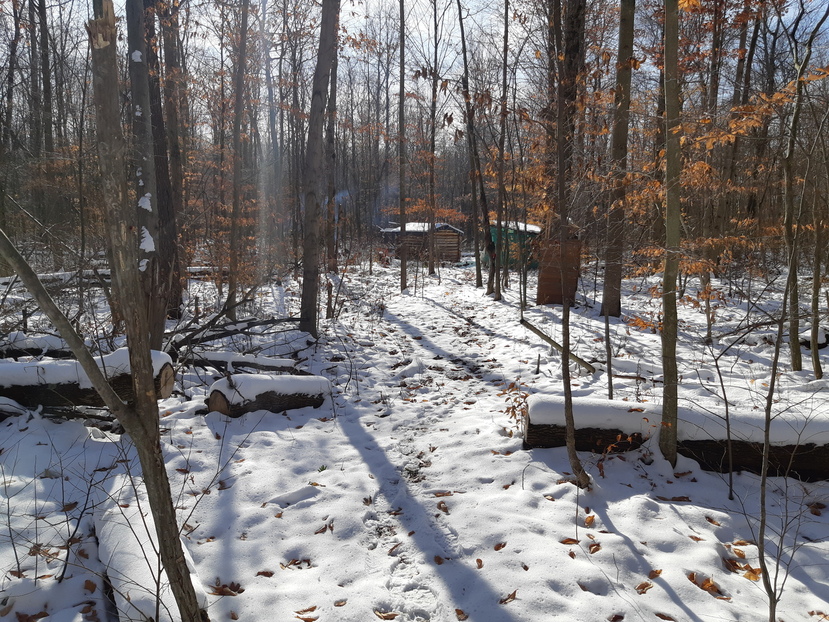
Cabin, shed, and outhouse.
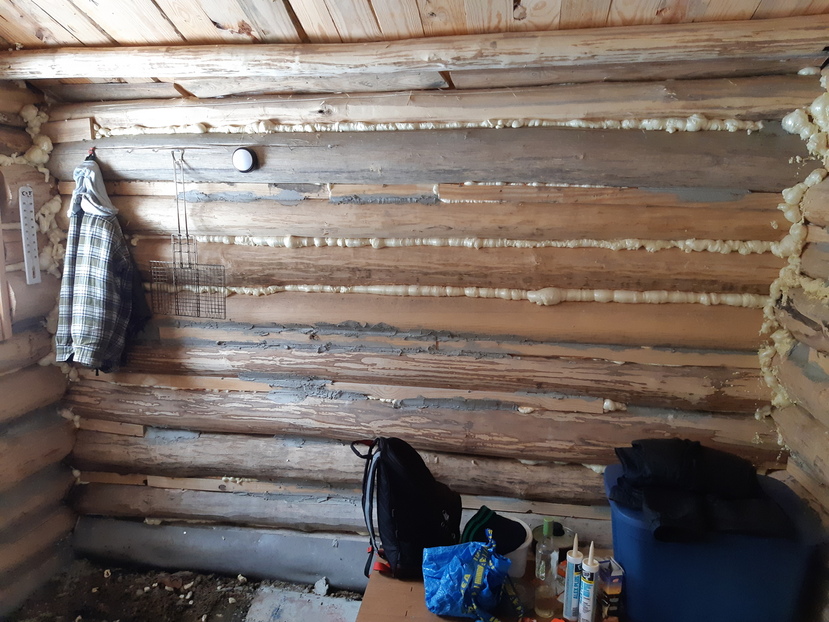
Back/side view of the cabin, and inside view.
Space between logs was few inches at most, so in some locations I added pine boards
to cover larger openings.
For some spaces, foam wasn't suitable, so I added mortar as well.
Pretty? No.

Your mileage may vary.
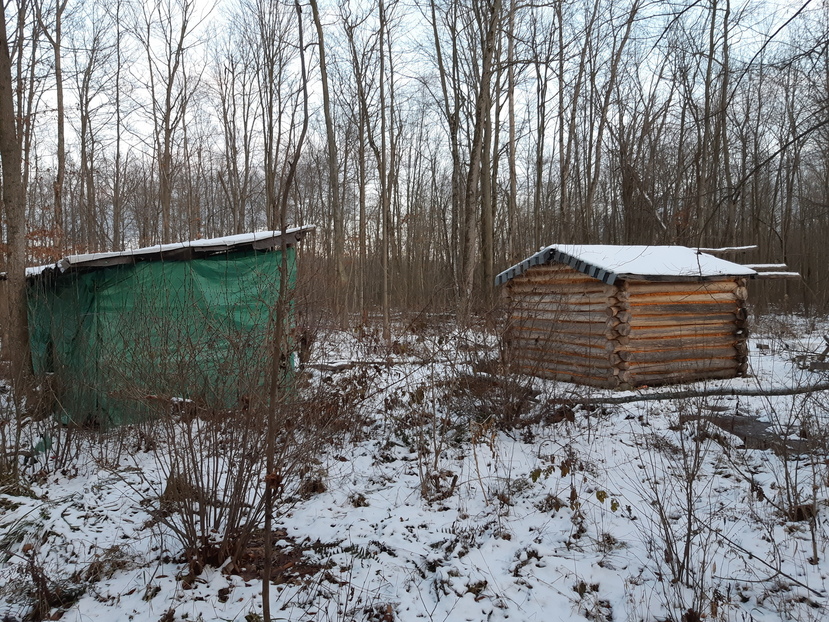
Cabin and shed from back/side.
Cabin inside.
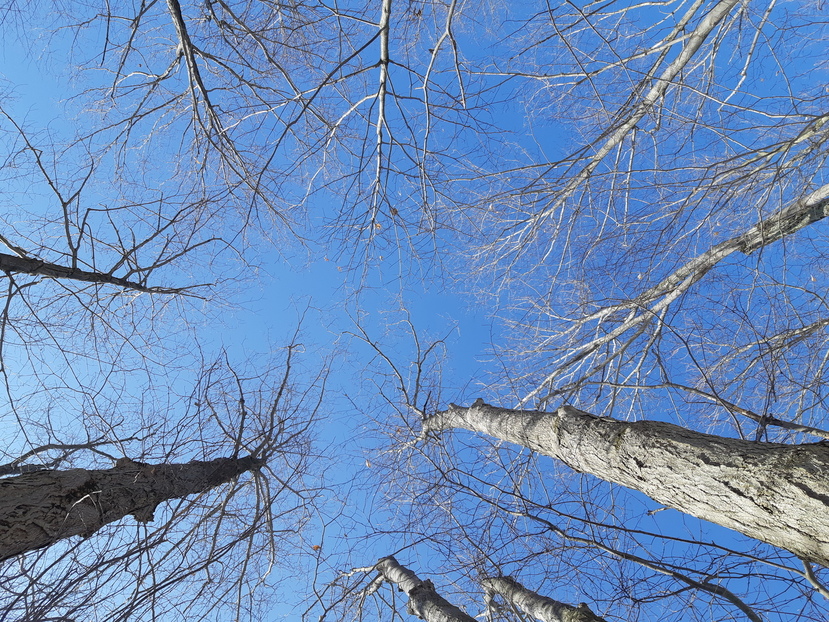
Beautiful and uplifting skies, always present for free.
My faithful hand-drawn cart, version 2. Made with pine boards and 2x4s.
First version was built with plywood, and disintegrated in several months due to plywood glue
falling apart. Avoid plywood.
Hand-drawn cart, version 2. Solid wood.
Lessons learned, in random order
1. Don't cut too many trees to clear the area for cabin, only as many as needed.
Saves time and effort.

2. If using hardwood (and even softwood) logs, pick smaller diameters you can easily work with.
If alone, pick smaller diameters still. Remember cabin is for your needs, not a beauty contest.
You will thank me after dragging them through the forest.

3. If you are in a snowy area, and especially if you work alone, cut trees in the winter so you
can easily drag them around on ice and snow. If you put a flat or curved piece of plastic
or a sled under the front part of the tree that you are dragging, it goes very easy.
Dragging them around in the spring or fall mud is very heavy work. Avoid.

4. Fit logs with no more than 1 inch (2.54 cm) between them. Spray foam can then fill the gaps.

5. Spike the corners of the logs together with long nails or connect them with some other method.

6. Use inclined strong branches (at least 2) to create a ramp once your log wall becomes tall.
In this way you can roll the logs up. Create stops by not cutting smaller branches off fully, or
nail large nails as stops.

7. Try to use industrial-cut lumber for your roof. Flattening logs to make flat roof structure is
not an easy task. Uneven structure is possible, but makes it difficult to apply usual roof
coverings like asphalt shingles.

8. Make sure you have sufficient roof overhang, to protect the cabin from rain, rot and mold.

9. Protect your tools from rain in a shed of some sort, while you are away.

10. Elevate your cabin from the ground (pavers, bricks, concrete blocks)
and find dry and high area if you are able.

11. Add wooden floor, elevated from dirt by bricks/pavers, ..., if you are able.
Credits
Parker B., Teodor C., Mario B., Miroslav C., ...
Back to homepage